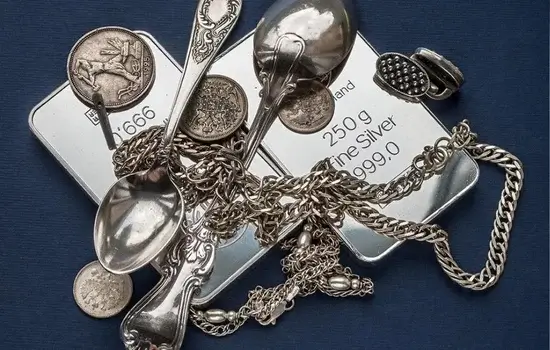
Ensuring the purity of silver is essential, especially in India, where silver holds significant cultural and economic value. While professional assays provide definitive results, several at-home methods can help you assess the authenticity of your silver items.
1. Visual Inspection for Hallmarks
Genuine silver items often bear specific stamps indicating their purity. Common hallmarks include:
- “925”: Signifies 92.5% silver content, known as sterling silver.
- “900” or “800”: Indicate 90% and 80% silver content, respectively, often referred to as coin silver.
- “STER” or “STERLING”: Denote sterling silver.
Use a magnifying glass to locate these marks, typically found in inconspicuous areas like the underside of jewelry clasps or the backs of utensils.
2. Magnet Test
Silver is non-magnetic. To perform this test:
- Materials Needed: A strong magnet, such as a neodymium magnet.
- Procedure: Place the magnet near the silver item. If the piece is attracted to the magnet, it likely contains other metals and is not pure silver.
3. Ice Cube Test
Silver’s high thermal conductivity can be tested using ice:
- Procedure: Place an ice cube directly on the silver item and another on a non-silver surface. If the ice melts faster on the silver, it indicates high thermal conductivity, suggesting the item is genuine silver.
4. Density Test
Silver has a density of approximately 10.49 grams per cubic centimeter. To estimate purity:
- Materials Needed: A precise scale and a container with milliliter measurements.
- Procedure:
- Weigh the silver item to obtain its mass in grams.
- Fill the container with water and record the initial volume.
- Submerge the silver item completely and note the new water level.
- Calculate the volume displaced by subtracting the initial volume from the new volume.
- Divide the item’s mass by the volume displaced to determine density.
A result close to 10.49 g/cm³ suggests high-purity silver.
5. Bleach Test

Silver tarnishes when exposed to oxidizing agents like bleach:
- Procedure: Apply a small drop of bleach to an inconspicuous area of the item. Genuine silver will tarnish rapidly, turning black. Note that this test can damage the item, so proceed with caution.
6. Sound Test
Authentic silver emits a distinct sound when struck:
- Procedure: Gently tap the silver item with a metal object. Pure silver produces a clear, ringing tone lasting a few seconds, whereas lower-quality metals emit duller sounds.
7. Odor Test
Pure silver is odorless:
- Procedure: Smell the item closely. A metallic or sulfuric odor may indicate the presence of other metals, suggesting the item is not pure silver.
8. Professional Testing Kits
For a more accurate assessment:
- Materials Needed: Silver testing kit containing nitric acid and a testing stone.
- Procedure:
- Scratch the item lightly on the testing stone to leave a small sample.
- Apply a drop of nitric acid to the sample.
- Observe the color change:
- Bright red indicates high-purity silver.
- Brown suggests lower purity.
- Green indicates the item is not silver.
Exercise caution, as acids are hazardous and can damage the item.
Conclusion
While these at-home tests can provide insights into the purity of your silver items, they are not foolproof. For definitive results, consider consulting a professional jeweler or utilizing advanced testing methods like X-ray fluorescence (XRF) analysis. Regularly verifying the authenticity of your silver possessions ensures their value and your peace of mind.

